As-Built Documentation for Historic Buildings
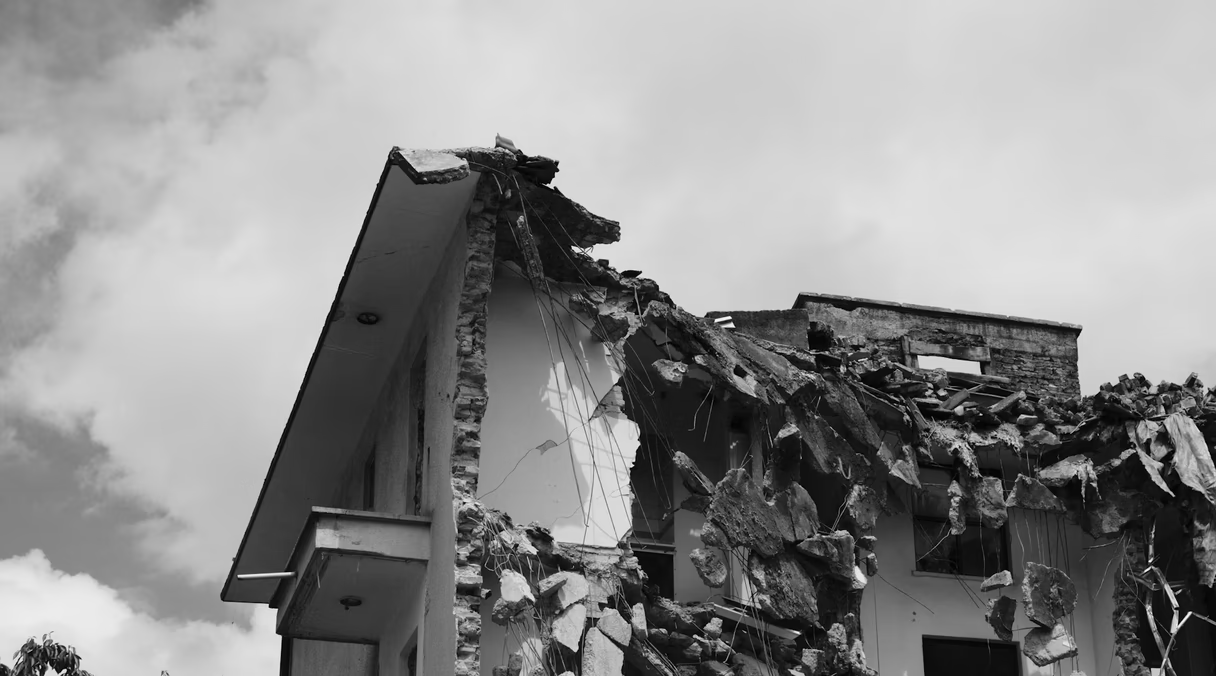
As-built documentation for a historic building is a measured record of existing conditions, captured before restoration, adaptive reuse, facade repair, or archival work begins. For most historic projects the practical workflow is a 3D laser scan of the building, registration of that scan into one coordinate system, and then whatever drawn or modeled output the team actually needs: CAD floor plans and elevations, building sections, a Revit or HBIM model, or simply the registered point cloud and photos. The job is to document what can be measured and to state plainly what cannot.
Historic buildings rarely cooperate with a clean as-built process. Rooms are out of square, floors slope, walls are thick and uneven, plaster bulges, and the drawings on file (if any exist) often show original design intent rather than 80 or 150 years of repairs, additions, and concealed phases. Hand measurement struggles with that. A laser scan does not, because it records geometry as it is, not as it was meant to be.
How the field capture works
A survey-grade terrestrial laser scanner is mounted on a tripod. The scanner is set up at a series of positions, and each setup records millions of measured points plus calibrated photos. Setups overlap so they can be aligned, or registered, into one continuous data set. On a historic interior with many small rooms, narrow stairs, and limited sightlines, that means a lot of setups, which is the single biggest driver of time on site. A house or a floor is usually scanned in a day; access, occupancy, and how broken up the floor plate is decide how long it takes.
Two field realities matter for historic work specifically. First, the scanner only sees what is in line of sight, so concealed framing, the inside of a wall cavity, or a sealed-off attic will not appear in the data. Second, fragile, restricted, or unsafe areas may be captured only partially, or only with photos. Both should be flagged before the scan day so the scope and the limitations notes match reality. Our 3D laser scanning service covers the field side; the site prep checklist covers access, safety, and visibility.
From point cloud to deliverable
After the field work, the individual scans are registered into a single point cloud, typically delivered as E57 or as Autodesk RCP/RCS for use in Revit and AutoCAD. That registered point cloud is the measured source record. Everything else (drawings, models, elevations) is traced or modeled from it. If the registered cloud is wrong, every drawing built on top of it inherits the error, which is why registration quality is worth asking about.
From there, three output paths are common, and they are not interchangeable:
- CAD drawings (DWG and PDF). The most practical output for most historic projects: floor plans, reflected ceiling plans, roof plans, exterior and interior elevations, building sections, and selected details. A plan-and-elevation package is a very different scope from a full restoration drawing base with sections and detail callouts.
- Revit or HBIM model (RVT, with IFC export available). A scan-backed model where geometry is built to a defined level of detail. Useful when the design team works in BIM or wants drawings generated from a single coordinated model. This falls under scan-to-BIM, and what is HBIM walks through how it differs from new-build BIM.
- Point cloud plus photos only. For archival records, owner documentation, or when a future team will need information the first drawing package never included. The cloud preserves geometry you did not draw.
Level of detail, and why more is not better
Historic ornament is where scope gets expensive fast. Cornices, plaster moldings, carved millwork, and decorative ceilings can be scanned, but modeling every profile to a high level of detail (USIBD LOA terms, or LOD 350 and above in Revit) multiplies hours and produces heavy files that are slow to open and hard to read. The honest approach is to model main geometry (walls, floors, openings, structure, floor-to-floor heights) to the LOD the project decision actually requires, and leave ornament as point cloud reference or photographs unless someone is going to fabricate or restore from the drawing.
So the scoping question is not “how detailed can you make it” but “what decision does this package have to support.” Restoration planning, a permit background, a contractor coordination set, and an archival record all want different things. Define detail by use, not by ambition. Our LOD 300 guide is built around exactly that decision.
Archive package vs design package
These two requests look similar and are scoped very differently. Naming which one you need (or that you need both) prevents the most common historic-project scope dispute.
| Archive / record package | Design package | |
|---|---|---|
| Primary purpose | Preserve a measured record of the building as it is | Give the design team a base to draw and model on |
| Core deliverables | Registered point cloud, photos, key drawings, limitations notes | CAD backgrounds, sections, elevations, Revit/HBIM model |
| Detail driver | Capture completeness | The design team’s file and LOD standards |
| Typical formats | E57, RCP, PDF, image sets | DWG, RVT, IFC, RCP linked into Revit |
| Reused by | Future owners, conservators, historians | Architects, engineers, contractors |
If a project needs both, the files, level of detail, and review process differ, so it is worth stating up front. The scan-to-CAD vs scan-to-BIM guide goes deeper on choosing between a drawn output and a model.
Facades usually deserve their own scope
Exterior documentation is often more involved than interior plans because the information is spread across height and depth: shifted openings, cornice lines, parapet edges, masonry coursing, and roof relationships. Capturing a full facade may require scanning from lifts, scaffolding, or across a street, and access timing (sidewalk permits, traffic restrictions, scaffold schedules) drives both cost and the calendar. If scaffolding is already going up for repair, scanning during that window is the efficient move. We cover this in laser scanning for facade restoration.
What the handoff should include
A historic as-built package should never arrive as a folder of files with no explanation. Useful handoff notes cover the scan date, which areas were captured, which were inaccessible, the file formats delivered, coordinate and registration notes, the categories that were modeled, the detail that was deliberately excluded, and the review status. Those notes tell the next team what the package can support and where they should go back to the point cloud, the photos, or field verification.
Equally important is what historic as-built documentation does not include by default: preservation recommendations, structural analysis, material testing, code review, repair design, conservation treatment plans, historical research, or discovery of hidden conditions. Those are the work of preservation architects, engineers, and conservators. The documentation gives them a reliable measured base to make those judgments from. For the broader picture of how scanning fits preservation, see 3D scanning for historic preservation and restoration.
What to send for an accurate quote
Because historic as-built cost tracks element density and required detail rather than floor area, a useful quote needs more than square footage. Send the building address, photos inside and out, building type and number of floors, approximate size, the interior and facade scope, your required deliverables (CAD, point cloud, Revit/HBIM, or all), any access restrictions, the scaffold or lift schedule, any existing drawings, and your deadline. That lets us scope the field days and the modeling separately instead of padding an estimate to cover unknowns.
If you have a historic building to document, request a quote with those details and we will scope the scan and the deliverables to the decision your team needs to make next.
FAQ
What are as-built drawings?
As-built drawings document a building as it actually exists, including the changes, repairs, and irregularities that accumulated after original construction. For historic buildings they are usually produced from a laser scan rather than from old design drawings, which often show intent rather than current condition.
Who is responsible for as-built drawings?
On a historic project, the owner or design team typically commissions the as-built record, then a reality-capture provider scans the building and a drafting or modeling team produces the drawings. The architect or engineer of record remains responsible for any design or code decisions built on top of the documentation.
As-built vs record drawings, what is the difference?
Record drawings are usually the design or contractor set marked up at the end of a project to reflect changes. As-built drawings are an independent measured record of the building as it stands today. For an old building with little reliable paper history, a measured as-built from a scan is far more trustworthy than inherited record drawings.
What is scan-to-BIM, and is it the same as HBIM?
Scan-to-BIM is the process of building a Revit or BIM model from registered scan data. HBIM (Historic Building Information Modeling) is scan-to-BIM applied to historic and heritage buildings, where geometry is irregular and modeling judgment about what to include and to what detail matters more.
How does 3D laser scanning work on a historic building?
A survey-grade terrestrial scanner is set up at many positions throughout the building, each recording millions of measured points and calibrated photos. Overlapping setups are registered into one point cloud. Because the scanner only captures line of sight, concealed and inaccessible areas are noted as limitations rather than guessed at.